What is Jenkins? How to configure Jenkins on Amazon EC2 and CentOS linux

Jenkins is an open-source tool. It helps us to build, test and deploy the application in an automated fashion with the support of hundreds of plugins. It privileges us simple continuous integration and continuous deployment in approximately every language and source code repository through the Jenkins pipeline. Jenkins is written in the Java language. Java is the dependency of Jenkins without java we cannot install Jenkins server in our system. Jenkins works on port 8080.
Continuous Integration:- Continuous integration is the process of merging all the code written by the team of developers into the central repository.
Continuous delivery:- Continuous delivery is the practice of eliminating nearly all the manual tasks and automate the entire application release process. This process requires at least one manual step of approving or initializing the deployment process.
Continuous deployment:- continuous deployment is the process same as continuous delivery, but in continuous deployment, every change in source code management is deployed to the production environment without explicit approval.
We achieve this automation through jobs in Jenkins. There are two types of jobs we can create:
- Freestyle Job
- Pipeline job
Freestyle Job: Freestyle job provides us Jenkins UI to build, test and deploy the code. In that UI we need to select the options provided as per the requirement to achieve continuous integration and continuous delivery/deployment.
Pipeline Job: Pipeline job is the way to achieve continuous Integration and continuous deployment/delivery through job as code, whatever we have achieve through UI we can achieve through code.
There are two types of Pipeline:
- Scripted Pipeline
- Declarative Pipeline
Scripted Pipeline: It is the traditional way of writing the jenkins pipline job as code. Scripted pipeline provides us the flexibility with respect to syntax. Scripted pipeline starts with keyword "node".
Declarative pipeline: This is the new way of writing the job as code. It makes the pipeline much easier to read and write. Declarative pipeline is restricted with respect to its syntax. Declarative pipeline starts s with keyword "pipeline".
Lets start installing and configuring jenkins server in our local system
1. We need to add the Jenkins repository so that we can able to install the Jenkins package, but before that, we will update our distribution. In this below block we are updating the system and downloading the Jenkins repo to the path /etc/yum.repos.d/ .
sudo yum update -y
sudo wget -O /etc/yum.repos.d/jenkins.repo https://pkg.jenkins.io/redhat-stable/jenkins.repo
2. After adding the repository we can clear repo cache and create again (optional).
sudo yum clean all
sudo yum makecache
3. Now we will check the Jenkins packages available, the command will list all the available versions of Jenkins.
sudo yum provides jenkins4. Now we will add the GPG Key. GPG keys is the signature that ensures that the package is authorized and trusted.
sudo rpm --import https://pkg.jenkins.io/redhat-stable/jenkins.io.key4. As we discussed above Java is the dependency of Jenkins, so need install Java.
sudo yum install java-1.8.0-openjdk-1.8.0.282.b08-1.amzn2.0.1.x86_64Checking Java Version
java -version5. Now we are all set to install Jenkins in our system
sudo yum install jenkins6. After installation we need to start Jenkins service and check the status of the service.
sudo systemctl start jenkins
sudo systemctl enable jenkins
sudo systemctl status jenkins
Jenkins.service - LSB: Jenkins Automation Server
Loaded: loaded (/etc/rc.d/init.d/jenkins; bad; vendor preset: disabled)
Active: active (running) since Thu 2021-07-15 16:23:04 UTC; 2min 21s ago
After the installation will hit the Ip of the server on the browser. If you are installing on your local system then you will enter the IP of your local system, or if you are working on an EC2 machine then the public IP of the server. "http://IP_of_server:8080" and you will get the below page.
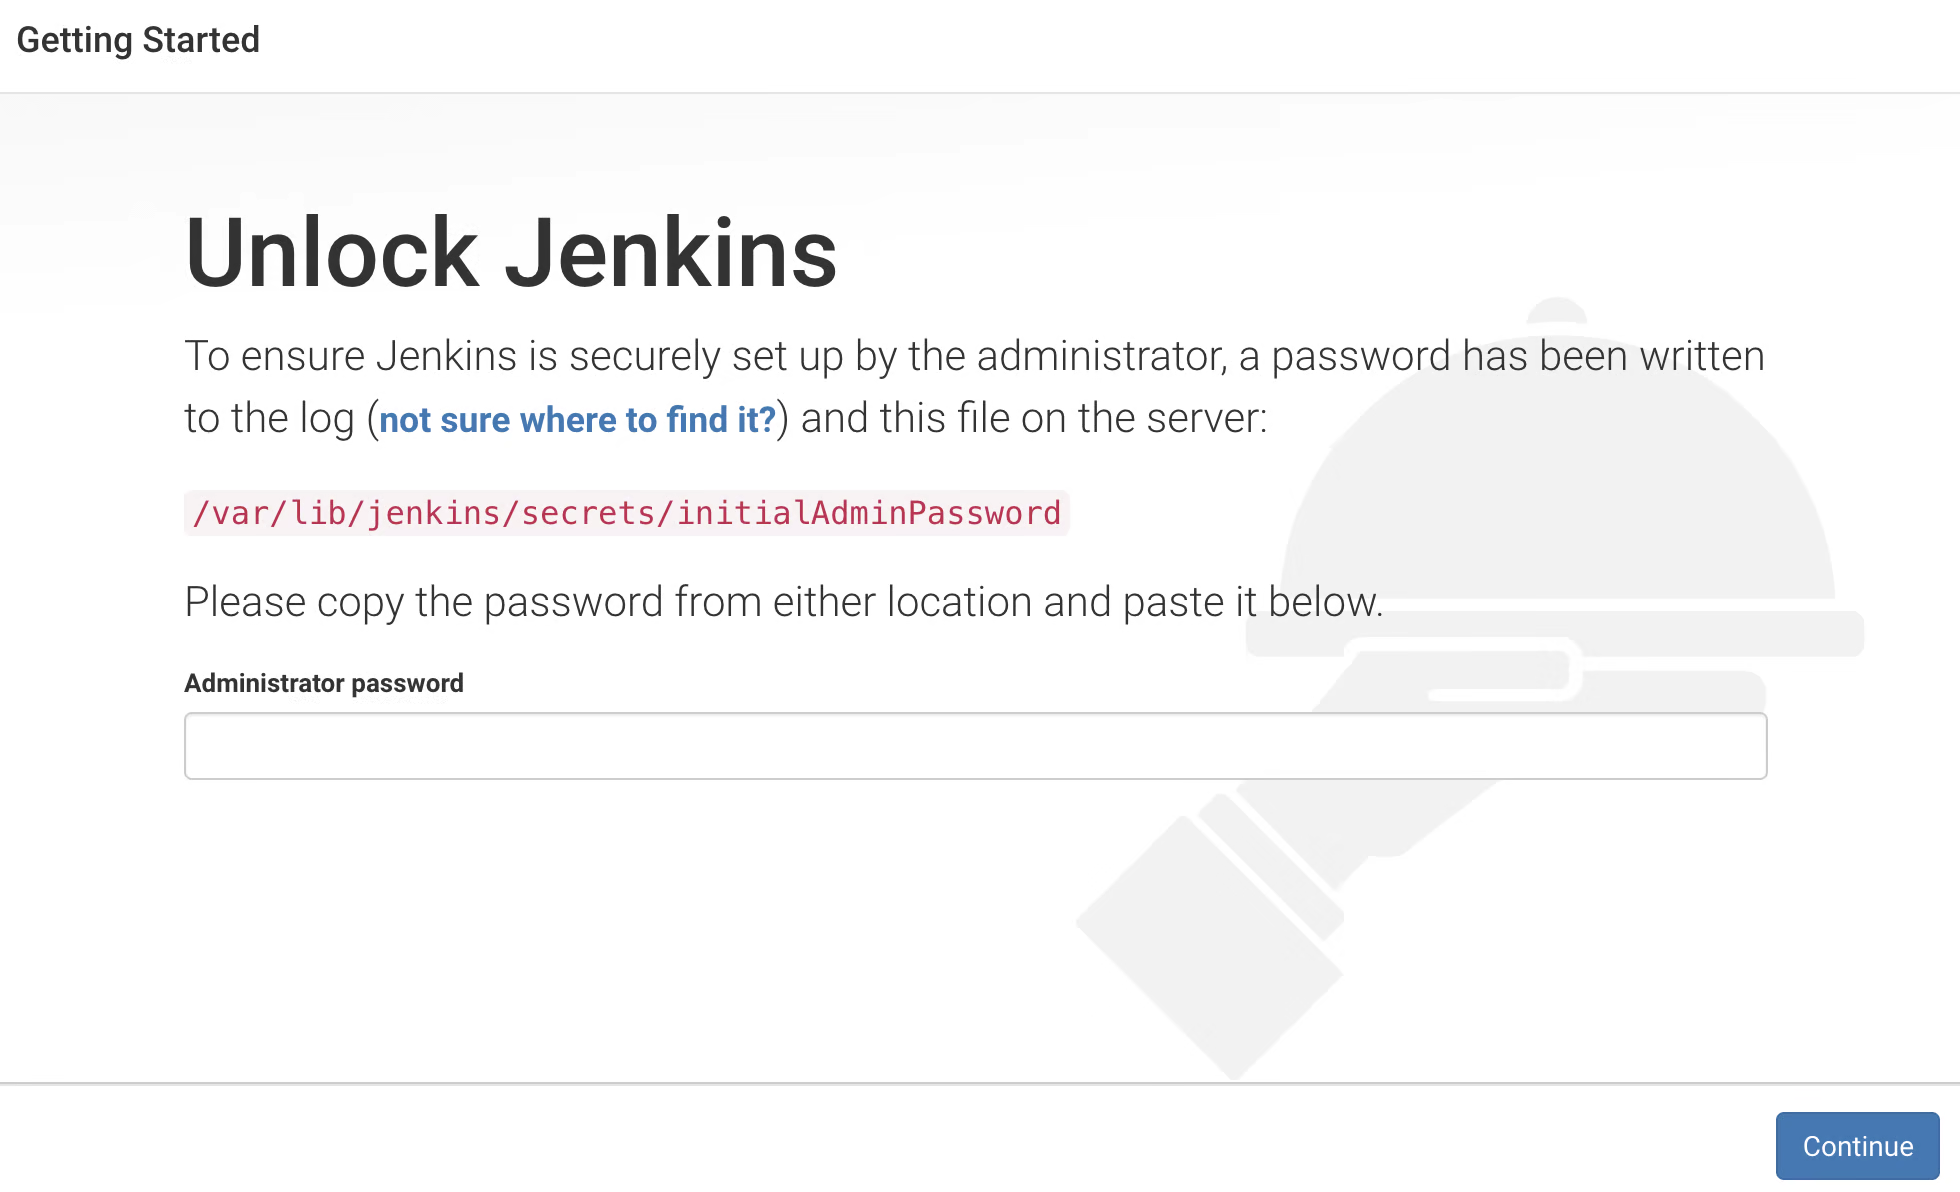
As you see in the image we have one path and one is a text box. You need to run the below command and you will get the secret password, you need to paste the password and click on continue.
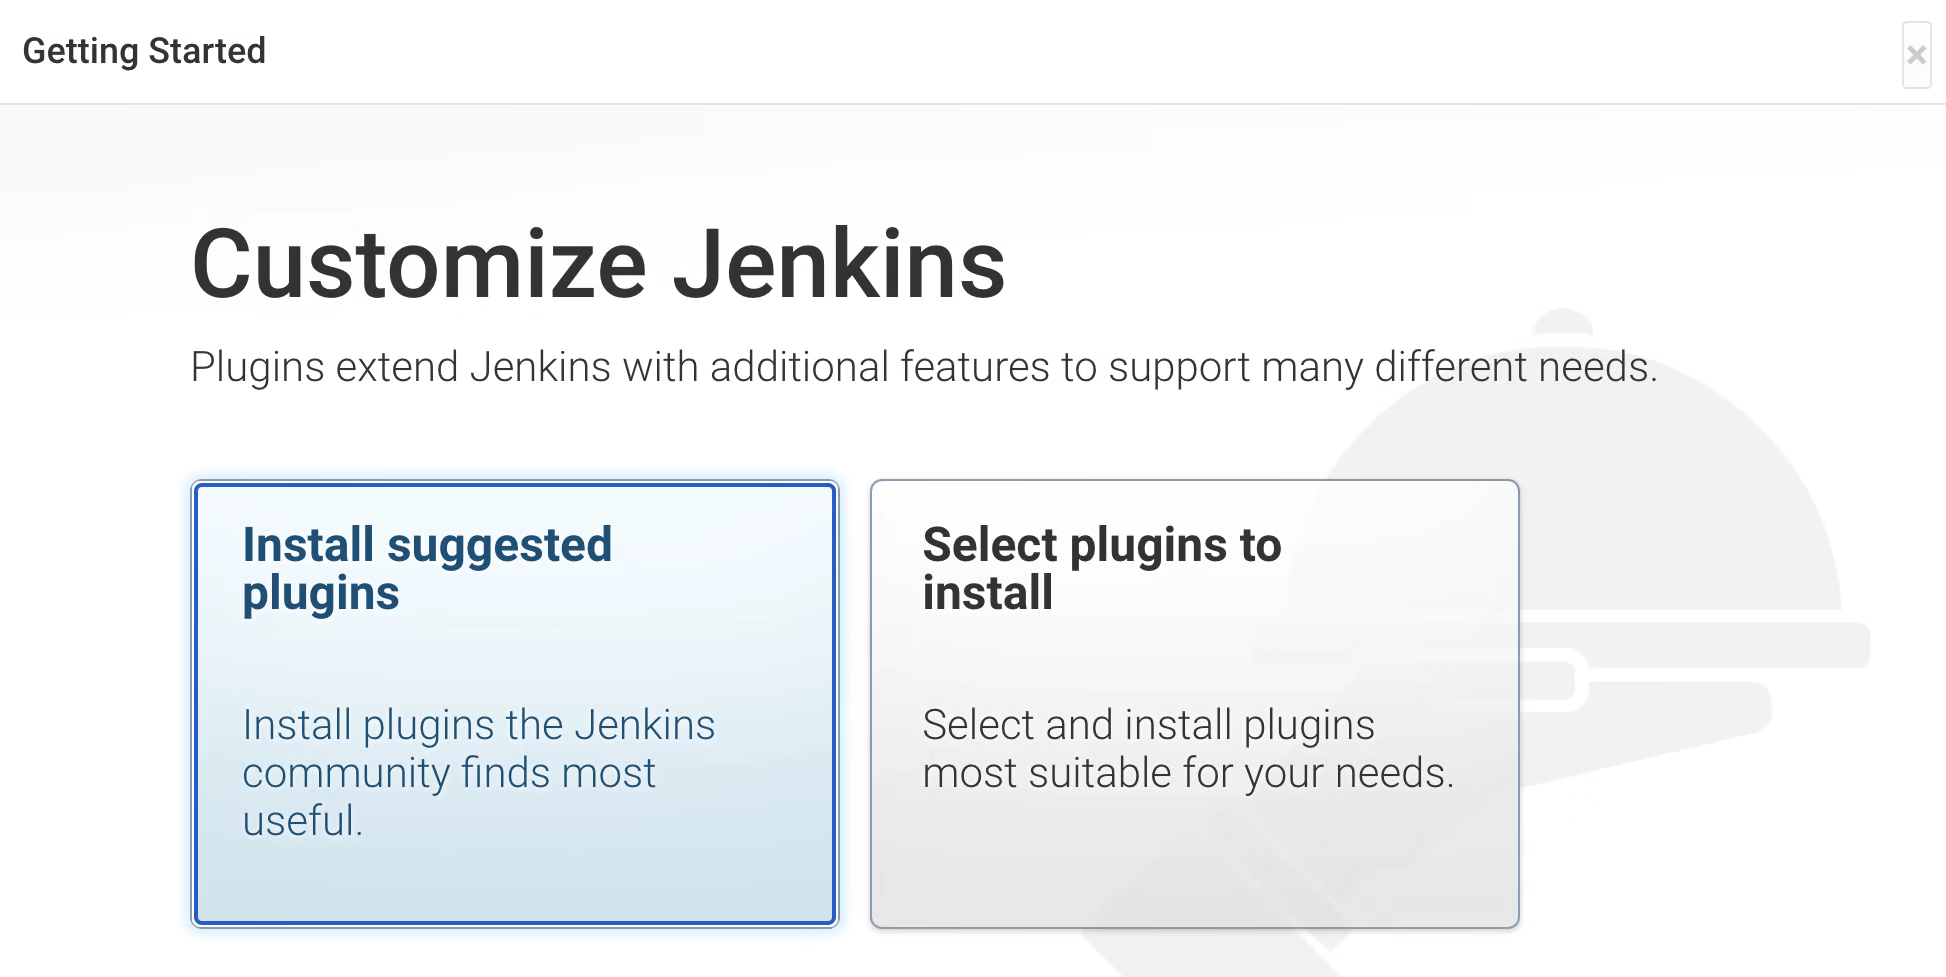
cat /var/lib/jenkins/secrets/initialAdminPassword7. After that you need to install plugins. Click on "Install Suggested Plugins."
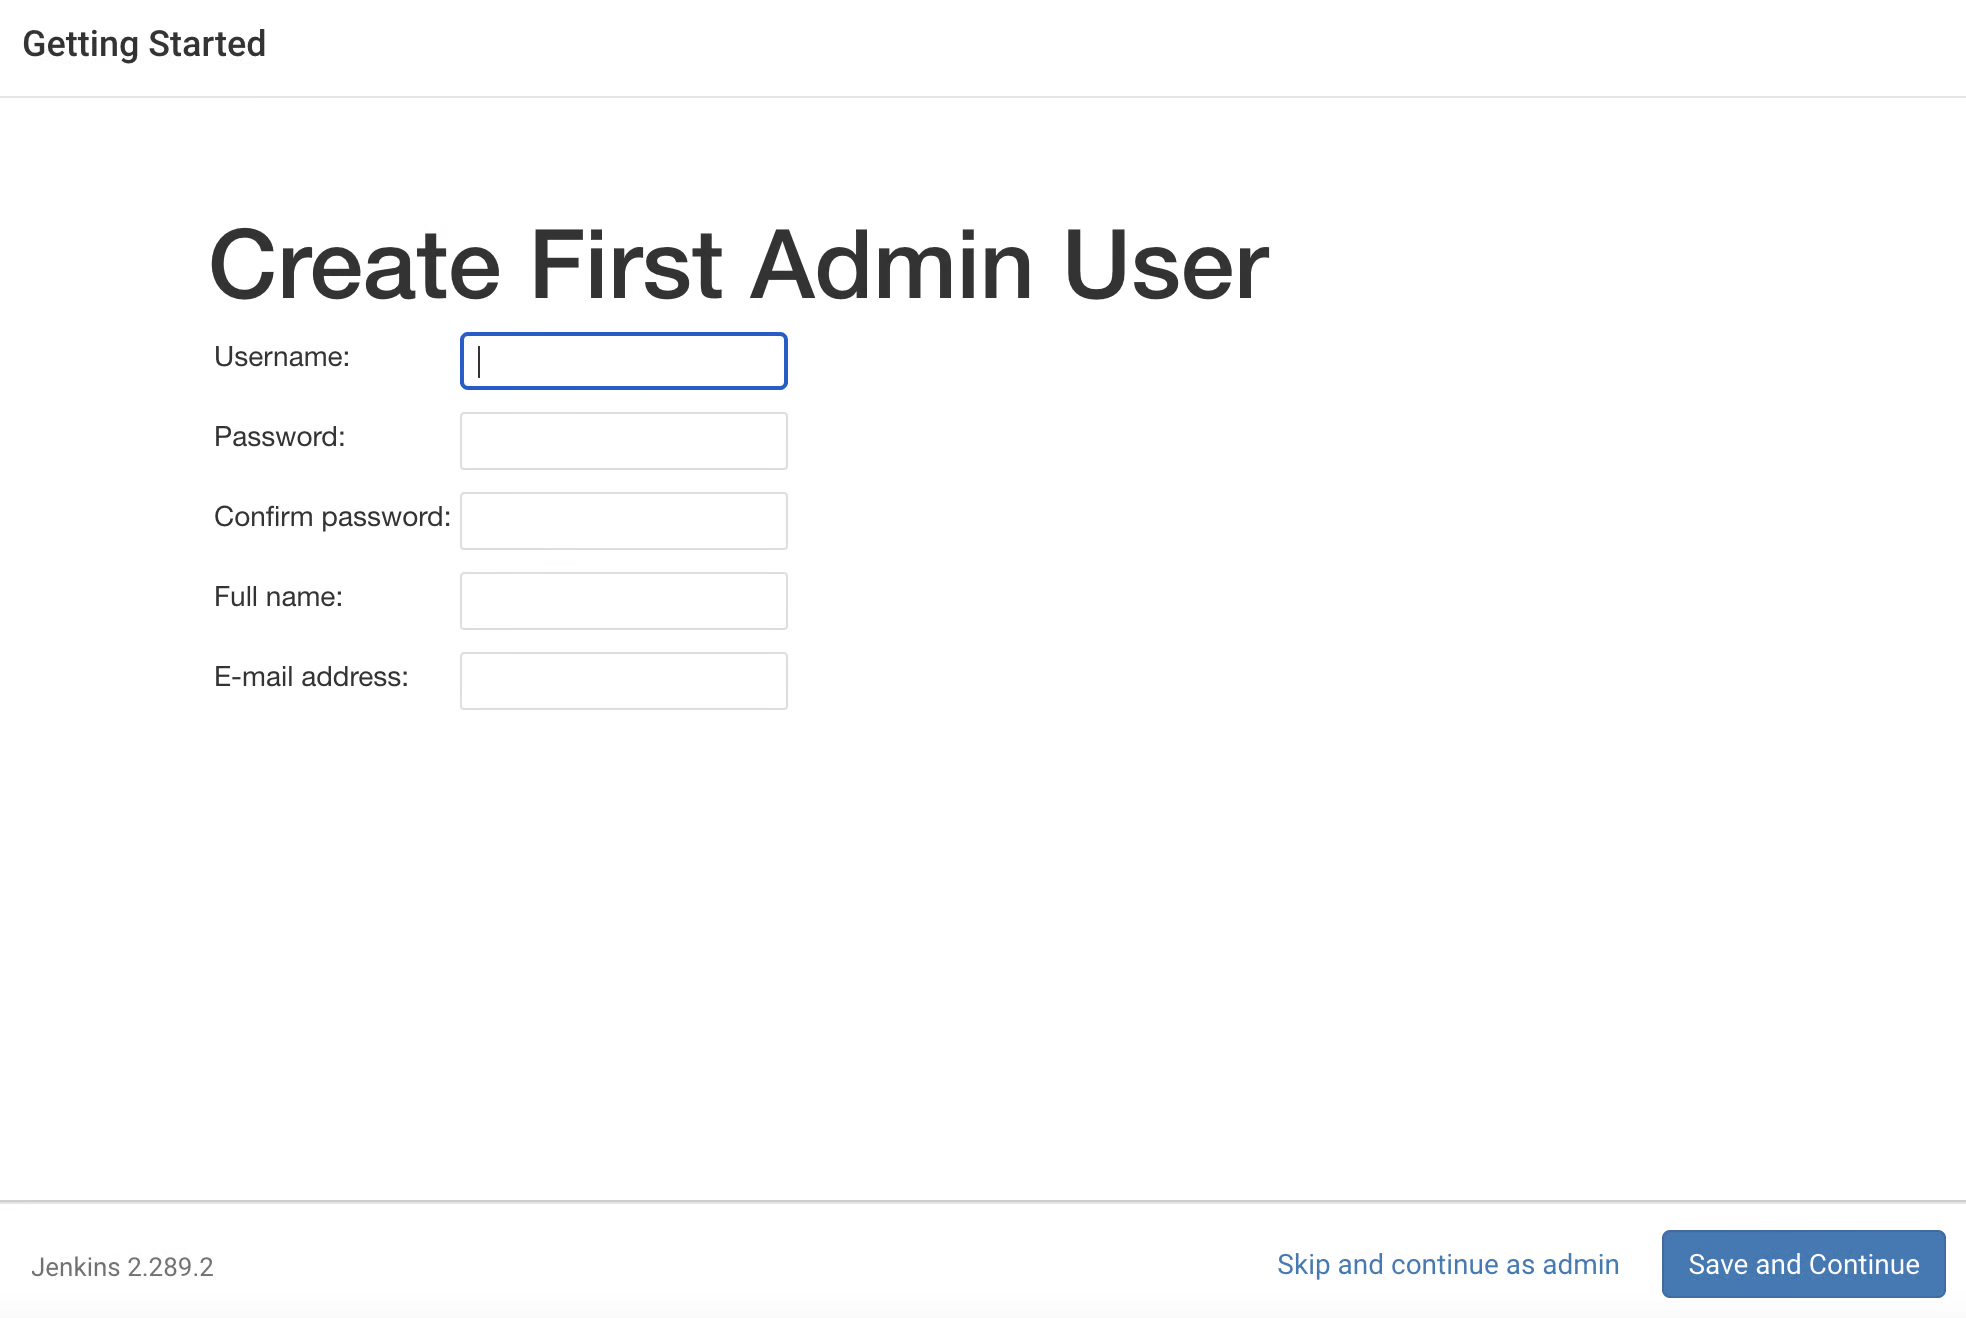
After completion of Installation, you will get the page to create the user, If you want to create the user you can fill the information and click on "Save and Continue" else click on "Skip and continue as admin".
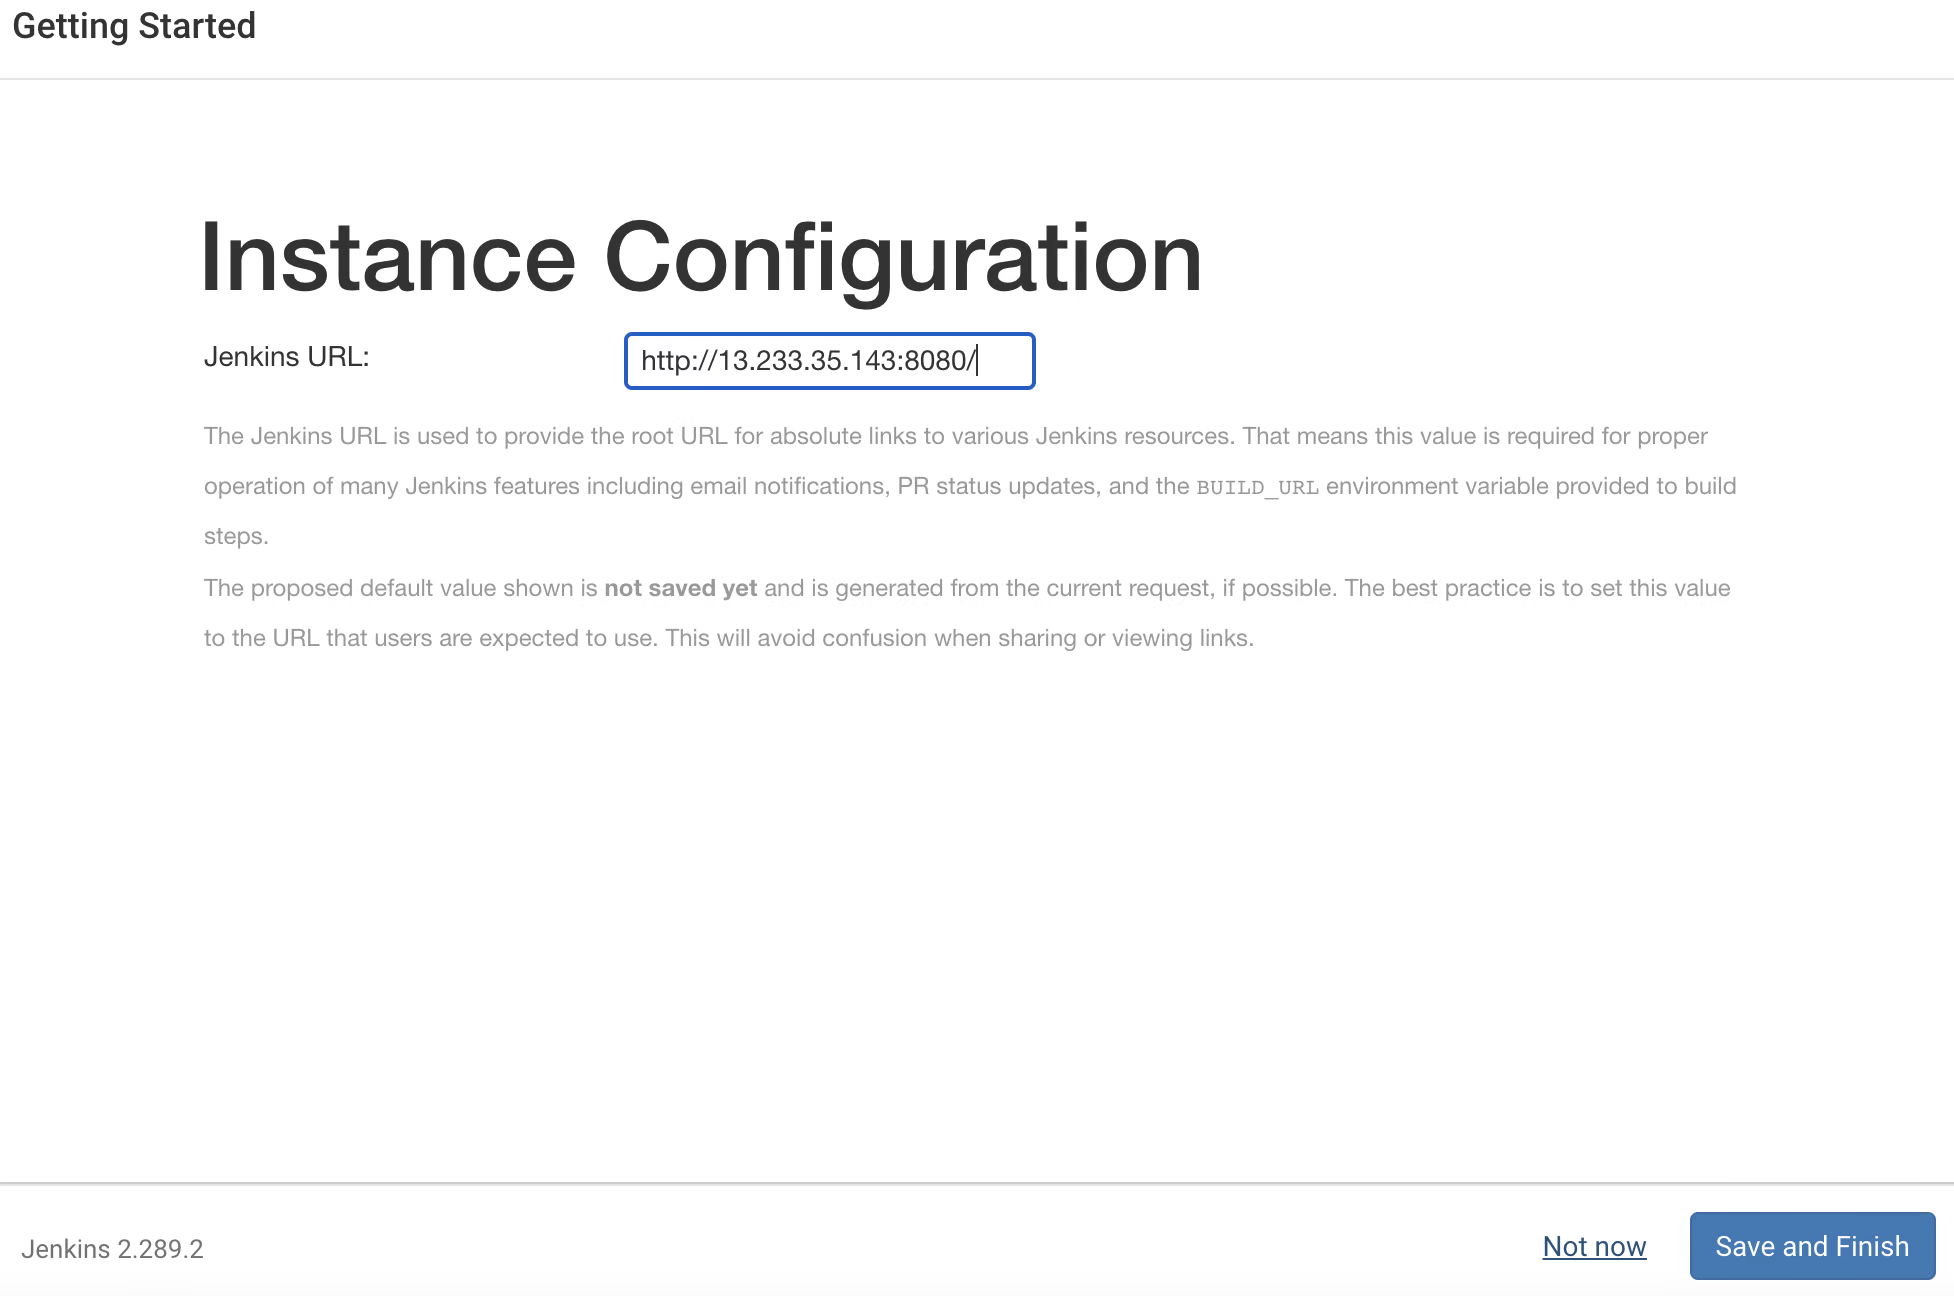
Now as you see the jenkins URL you can replace it with "Domain" also like "https://domain:8080" then click on "save and finish".
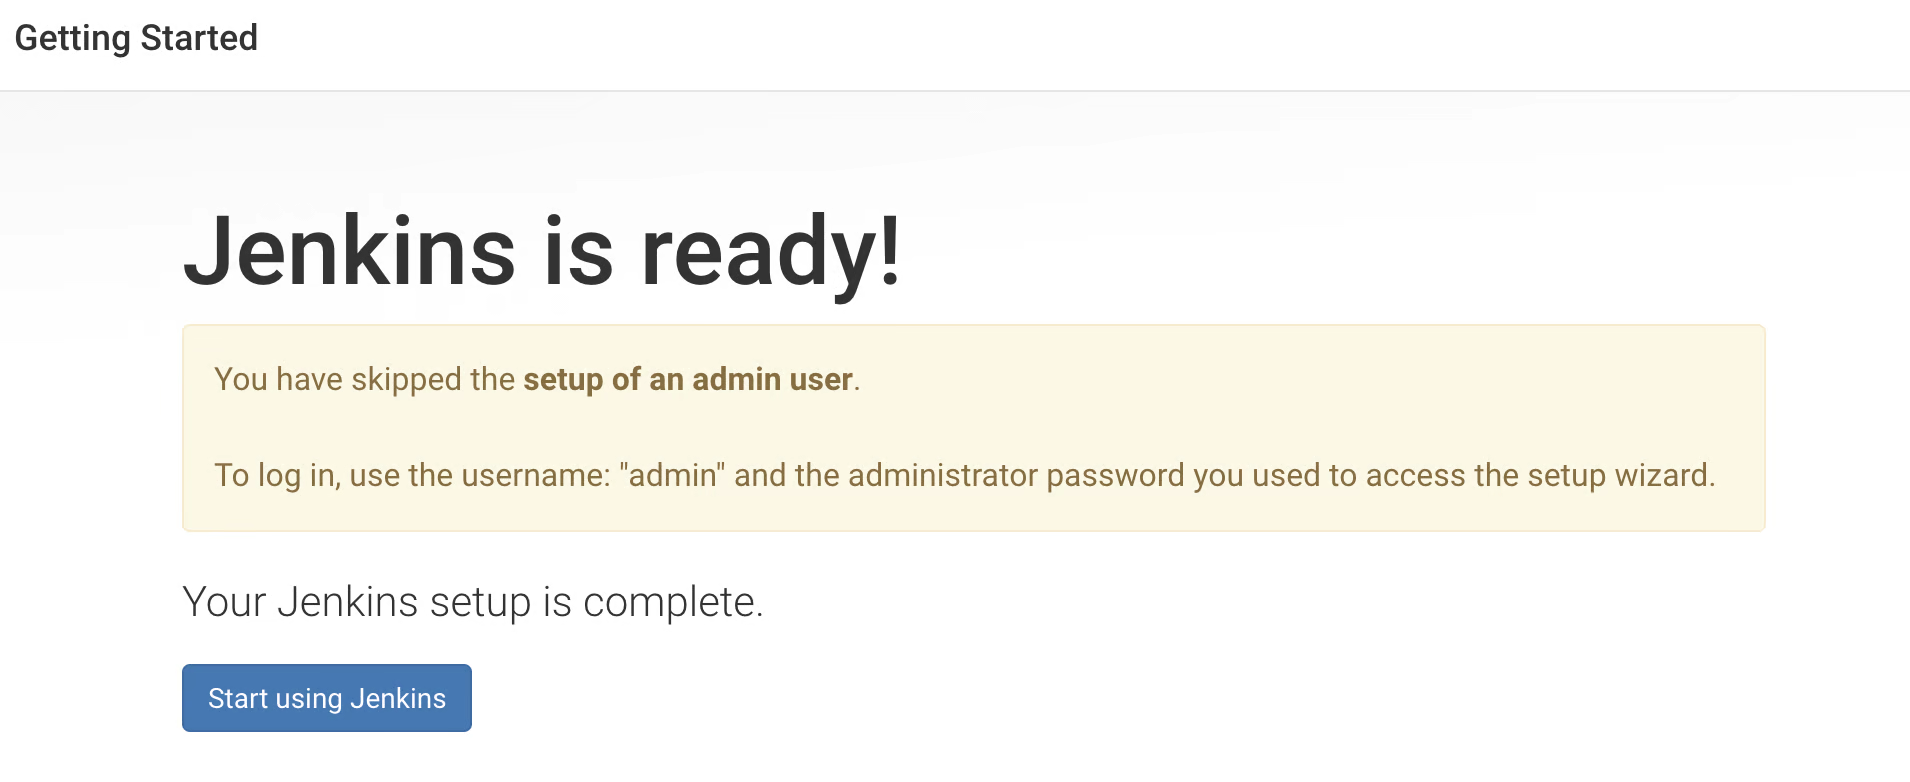
As we see our Jenkins setup is ready click on "Start using Jenkins".
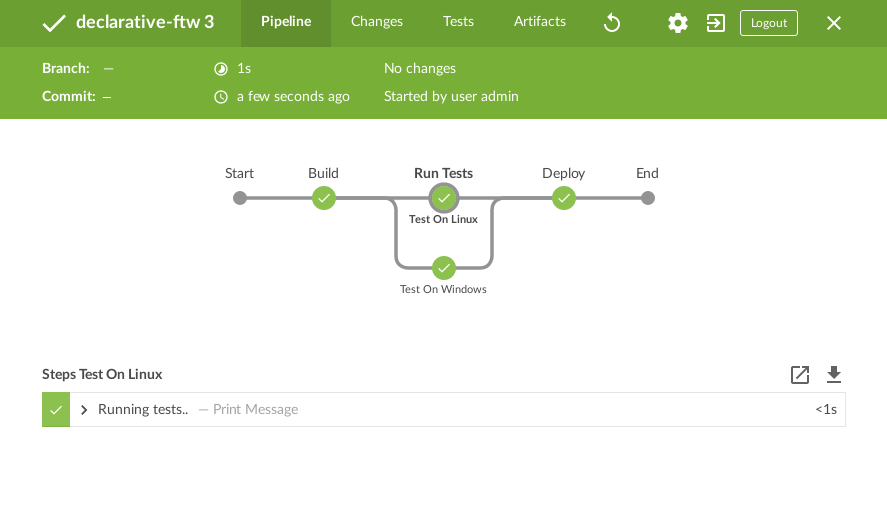
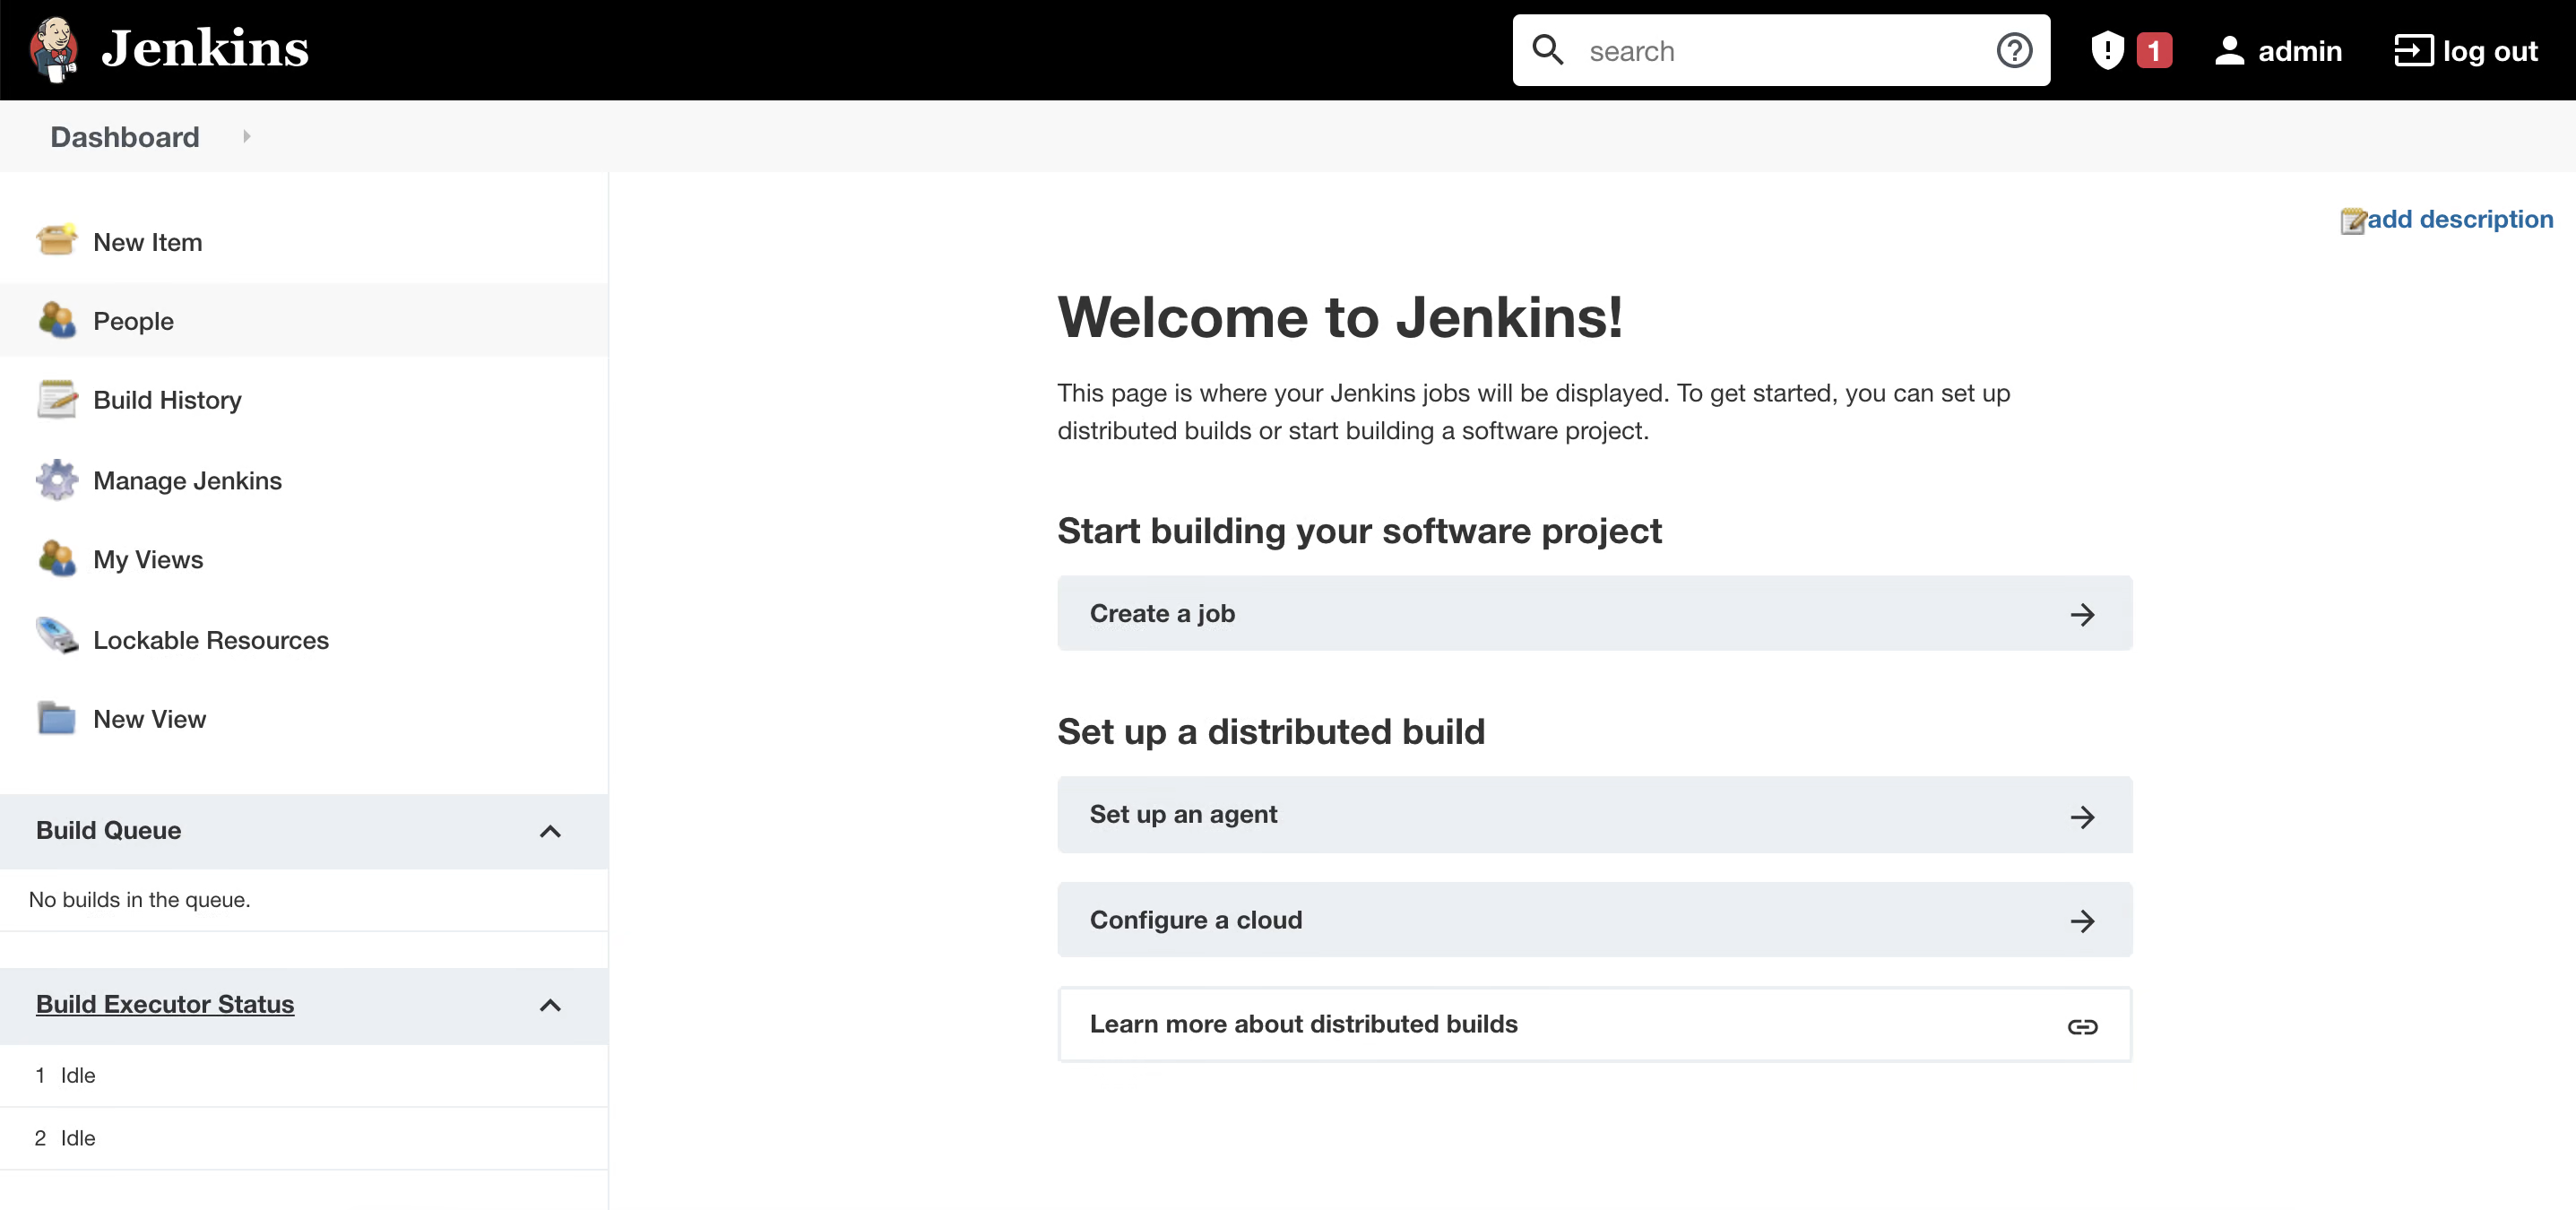
This is the Jenkins server dashboard where we can implement CI/CD automation .
Kudos, we have successfully finished the Jenkins setup, Now we can start automating our task using Jenkins. In the next article I will take you to go through the Jenkins console and configuration settings.
